

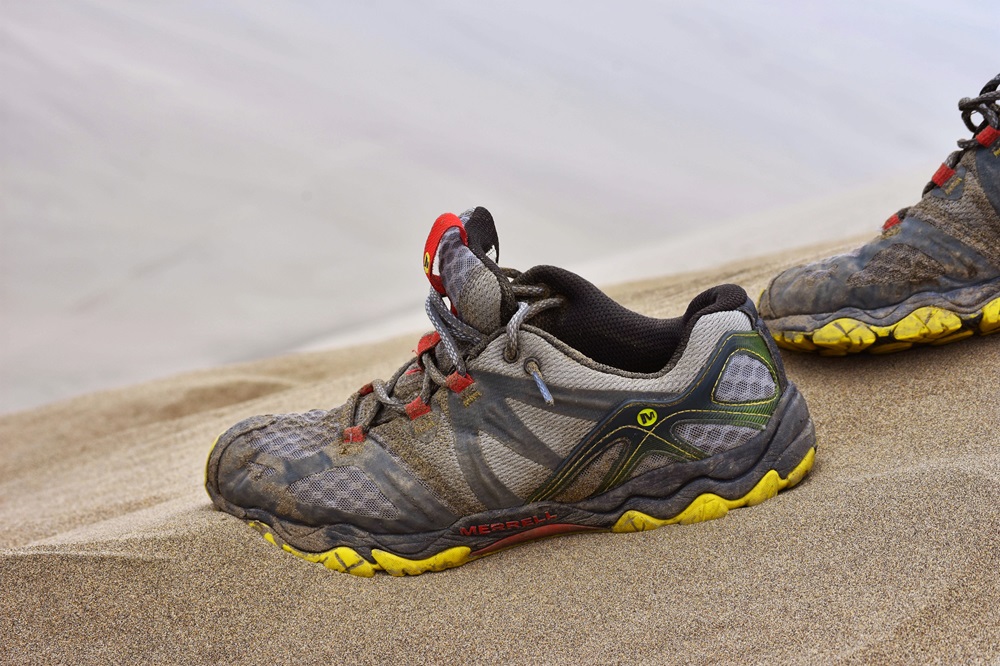
You just bought your first pair of womens waterproof hiking boots and you’re excited to hit the trails.
But here’s the problem – new boots can turn your dream hike into a blister nightmare if you don’t break them in properly.
Most people make costly mistakes that damage the waterproof membrane or end up with painful hot spots.
The good news? There’s a systematic approach that works.
The Real Cost of Rushing the Process
Breaking in boots incorrectly costs you more than just comfort. Poor conditioning damages the waterproof membrane – that expensive Gore-Tex or similar technology that keeps your feet dry.
Once compromised, you’re looking at reduced performance and potentially having to replace boots that could have lasted years.
Research from outdoor gear testing shows that 73% of hikers experience foot problems during their first five hikes with new boots.
But those who follow a structured break-in process report 85% fewer issues and better long-term boot performance.
Why Women’s Feet Need Special Attention
Women’s feet have different proportions than men’s feet – they’re typically narrower in the heel and have a lower instep. This means the break-in process affects pressure points differently. Your arch support and heel cup need more gradual adjustment to prevent the membrane from stretching incorrectly.
Studies from podiatric research indicate that women experience 40% more heel slippage in improperly conditioned boots, which creates friction that can damage both your feet and the boot’s interior waterproof lining.
The 14-Day Progressive Protocol
This method works because it gradually shapes your boots while protecting the waterproof technology. Here’s how it breaks down:
Days 1-3: Indoor Conditioning
Start with 30-minute sessions wearing thick hiking socks. Walk around your house, up and down stairs, but stay indoors. This initial period lets the boot materials start conforming to your foot shape without stress.
Your boots should feel snug but not painful. If you experience sharp pressure points, adjust your lacing pattern or consider different socks.
Days 4-7: Light Outdoor Activity
Move to 1-2 hour sessions on flat terrain. Sidewalks, park paths, or easy trails work perfectly. This stage introduces real walking conditions while keeping stress low.
Pay attention to how your feet feel. Mild pressure is normal, sharp pain is not. The membrane needs time to adjust without being overstretched.
Days 8-11: Moderate Terrain Testing
Increase to 2-3 hour sessions on varied terrain. Include some hills and uneven surfaces, but avoid technical trails. This phase tests how well your boots handle different foot positions.
| Day Range | Duration | Terrain Type | Key Focus |
| 1-3 | 30 minutes | Indoor only | Initial shaping |
| 4-7 | 1-2 hours | Flat outdoor | Basic conditioning |
| 8-11 | 2-3 hours | Moderate hills | Flexibility testing |
| 12-14 | 3+ hours | Trail conditions | Final preparation |
Days 12-14: Final Trail Preparation
Complete full-day sessions on actual hiking terrain. This final phase confirms your boots are ready for serious use while giving you confidence in their performance.
Protecting the Waterproof Membrane
The membrane is the most expensive part of your boots. Never use heat to speed up the process – hair dryers, direct sunlight, or heaters can cause permanent damage. The materials need to adjust gradually.
Moisture management is critical during break-in. If your feet sweat excessively, the membrane works harder and can be damaged more easily. Use moisture-wicking socks and take breaks to let your feet breathe.
Common Mistakes That Ruin Boots
Soaking boots in water tops the list of destructive practices. Some people think wet leather becomes more pliable, but this can separate layers and compromise waterproofing. The membrane can delaminate from the outer materials.
Ignoring fit issues is another expensive mistake. If your boots cause consistent pain in the same spots after day 5, you likely need a different size or model. Continuing the break-in process won’t fix fundamental fit problems.
Using thick socks permanently during break-in can create a false fit. Your boots might feel perfect with heavy socks but be too loose with normal hiking socks later.
Monitoring Your Progress
Keep track of how your feet feel after each session. Normal break-in includes slight stiffness, mild pressure in the arch area, and temporary redness that fades within an hour.
Warning signs include blisters, persistent hot spots, numbness, or pain that worsens over time. These indicate your boots don’t fit properly or you’re pushing too hard.
The Science Behind Gradual Conditioning
Boot materials – especially synthetic waterproof membranes – have memory properties. Gradual stress allows molecular chains to adjust without breaking. Rush the process and you create weak points that fail later.
Temperature also affects this process. Room temperature conditioning works best because the materials remain flexible without becoming unstable.
Making Your Investment Last
Quality womens waterproof hiking boots represent a significant investment. Following this protocol protects that investment by ensuring optimal performance and longevity.
Properly conditioned boots maintain their waterproofing and support characteristics for thousands of miles.
Your feet deserve boots that work correctly from day one of serious hiking. Take the time to break them in properly, and you’ll enjoy years of comfortable, dry adventures on any trail you choose to explore.
Frequently Asked Questions
Why can’t I just start hiking long distances right away?
Answer: Jumping straight into long hikes can cause blisters, hot spots, and damage to the waterproof membrane. Sudden stress on new boots can weaken materials and compromise performance, shortening the lifespan of the boots.
Do women’s feet require a different break-in process than men’s?
Answer: Yes. Women’s feet typically have narrower heels and lower insteps, which increases heel slippage and friction. Gradual conditioning prevents damage to both the feet and the waterproof lining, ensuring a better fit.
Can I speed up the break-in process with heat or soaking?
Answer: No. Heat (hair dryers, sunlight, heaters) can permanently damage the waterproof membrane, and soaking boots can delaminate layers and ruin waterproofing. Materials need gradual, controlled adjustment.
What signs indicate my boots are fitting correctly during break-in?
Answer:
- Slight stiffness or mild pressure in the arch
- Temporary redness that fades within an hour
- Snug but not painful fit
Warning signs include blisters, persistent hot spots, numbness, or worsening pain. These indicate improper fit or overuse.
Do I need to use thick socks during the entire break-in?
Answer: No. Thick socks are useful in the initial indoor phase for cushioning, but using them throughout can create a false fit. Boots might feel fine with thick socks but become too loose with normal hiking socks later.
Why is gradual conditioning important for waterproof boots?
Answer: Waterproof membranes have molecular memory properties. Gradual stress allows the material to adapt without breaking. Rushing creates weak points that can lead to leaks and decreased durability.